11: Shaping
(cont.)
DecreasingDecreasing is another
kettle of fish. Decreasing eliminates one of two stitches. Most
knitters decrease by knitting two stitches together either through
the front or back of the stitches. If stitches are knitted together
through the front of the loops, the stitch slants from left to
right. Knitted through the back of the loops, the stitch slants from
right to left [pic 16].
16: The left decrease is a front of
loop decrease, the right is a back of loop decrease.
Some decrease by slipping the last stitch on
the right needle over the second last stitch on the right needle, or
slip the last stitch on the left needle over the next stitch, and
then knit on [pic 17].
17: Left decrease slipped through right hand stitch, right
decrease slipped over right hand stitch.
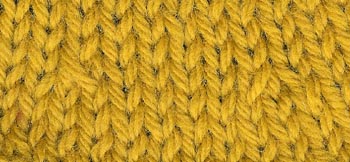
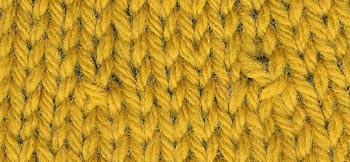
A decrease shows as a stitch sloping to
either the left or the right over another stitch. The decreases on
each side of a seam need to look balanced in pairs, so you need to
make the decreases slope in different directions on each side of a
seam [pic 18,19].
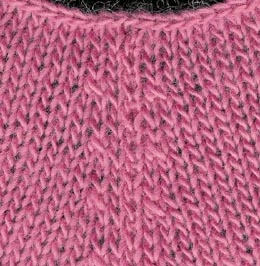

18: (left) Same direction slopes on either side of a
seam don’t balance.
19: (right) Balanced shapings pair on either side of a seam.
Establish a habit of always sloping the
stitches one way at the beginning of a row and the other way at the
end of a row, then decreases will balance at any seam. If you are
only shaping at one edge, keep your slopes to the direction you have
established for that edge. It is an easy way to ensure that the
shapings will always pair on the finished garment, and it becomes
second nature to do it without having to concentrate too much.
When shaping occurs on a purl row, you can control the direction of
the slope of the stitch, but it is a bit difficult. Purl two
stitches together either through the front or back of the loops at
the start of a row. Twist the stitches whilst working the decrease
to make sure that a decrease at the end of a row shows the opposite
slope to the decrease at the beginning of the row.
All these methods apply to increases and decreases which are part of
shaping. Other increases and decreases occur when working pattern
stitches and the way that these should be worked will usually be
described in the instructions.
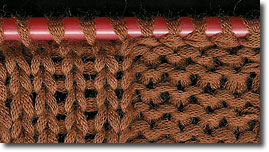
Sometimes many stitches are knitted together to make a decrease. If
there are a large number of stitches to be knitted together, there
can be a problem to push the needle through all the stitches, so the
stitches are taken consecutively over the stitch on the right or
left needle. Knit a sample square with this kind of decreasing so
that you can gauge where a multi-stitch decrease can be placed so
that it will balance [pic 20, 21].
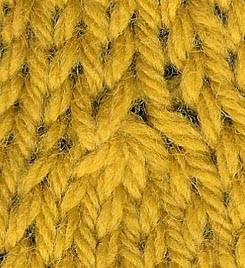
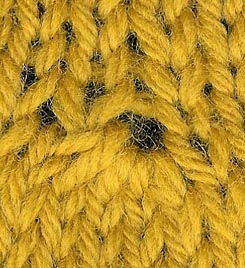
20: (left) Decrease of four stitches knitted together.
21: (right) Stitches decreased consecutively.
NEXT
PAGE >> chapter
page: 1 | 2
| 3 | 4 |
5 | 6
|