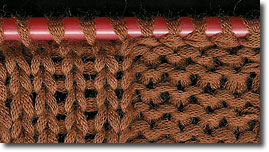
| 26: Buttonholes
(cont.)
There is no way to make those stitches
disappear, but they will look better if you use the point of the
needle, and starting at the side of the buttonhole, firm the stitch
by pulling gently at the side furthest from the buttonhole. Pull out
a loop, then tighten it up by pulling out another loop from the next
stitch [pic 10].
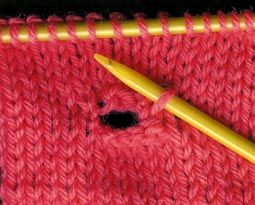
10: Tighten by pulling out a
decreasing sequence of loops on either side of the buttonhole.
Gradually pull smaller loops from the next
few consecutive stitches. and within a few stitches, the fabric
looks undisturbed. Repeat on the other side of the buttonhole and
the loose stitches will not be as obvious as before [pic 11].
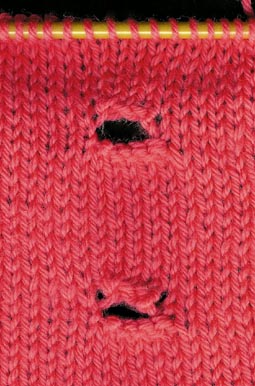
11: Top: Sides have been firmed up.
Bottom: Loose stitches haven’t been fixed.
The buttonhole can be worked by starting on
a knit row, but it really looks better when started on a purl row.
Knit a patch and try it out. Any knitted buttonhole stretches
easily, so make the smallest size possible. If used vertically, the
buttonhole opens out and really doesn’t hold a button very well.
This way of working a buttonhole is first cousin to making a long
horizontal slit for a set in pocket.
---
When working out where to make buttonholes
on the knitted fabric of the garment, place the hole at least two
button widths from the edge. A button doesn’t sit in the centre of a
horizontal buttonhole, it pulls to the side nearest to the centre
front [pic 12].
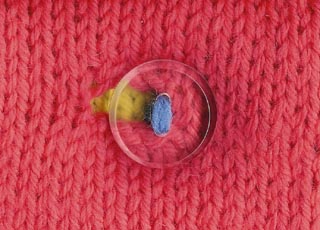
12: A clear button attached with blue
thread to a yellow backing shows that a button pulls to one side of
a horizontal buttonhole.
NEXT PAGE >>
chapter page: 1 |
2 | 3 | 4 |